Homemade Cheesy Garlic Bread Swirls

If you love your garlic bread to be extra strong then you have come to the right place. There’s really nothing better than the smell of homemade garlic bread wafting through the house to get you excited about dinner and these do just the job. Fun to make (the magic of yeast!) and fun to eat these are such a crowd-pleaser. I think these are so much better than regular garlic bread because there’s so much more surface area for the garlic butter to be absorbed.
As it’s just my husband and me, I often find that 12 of something is too many which is why I sometimes make two versions of these in the same pan. Most recently I’ve made cheesy marmite rolls which are packed full of that umami flavour I love.
These don’t need a huge amount of skill, but they do require a little attention and more importantly some time so I love to make these on a weekend when I have a bit of time on my hands and I want to put some love into dinner. If you’re new to baking with yeast, I would recommend taking a read through this comprehensive blog post by the wonderful Sally from Sally’s Baking Addiction. She really is the queen of baking and a great place for all things baking with yeast it certainly nothing to be afraid of. Like everything, the more you use it the more comfortable you’ll become.
INGREDIENTS
DOUGH:
250ml whole milk - warm to the touch, but not hot
1 sachet on instant yeast or 7g instant yeast
2 tbs sugar (one for the yeast, one for the dough mix)
1 large egg
60g unsalted butter, room temperature
1 teaspoon salt
420g strong white bread flour
FILLING:
125g butter
20g parsley, stalks removed and finely chopped
6 garlic cloves, crushed - want more? Go for it!!
100g strong cheddar cheese, finely grated
Salt and generous black pepper
METHOD
Makes 12 rolls and takes about 3.5 hours in total including proving.
Whisk the milk, yeast and one tablespoon of sugar together in the bowl and leave it to sit for 5 minutes - when you see frothy bubbles on the top you know the magic is happening.
Add the eggs, remaining sugar, softened butter, salt and flour to the bowl of your stand mixer with the dough hook attached. Pour in your activated milk and mix on a slow setting for a couple of minutes to ensure the flour absorbs the liquid – use a spatula to scrape down the side of the bowl to ensure all the flour is incorporated. Once absorbed, turn the power to medium and let the dough hook do the work for about five minutes. The dough should be soft and a little sticky. If you don’t have a stand mixer, you can bring the mixture together in a bowl and then when you have something that resembles a dough, knead on a lightly floured work surface by hand for about five minutes. Very therapeutic while listening to the radio or a good job to give to someone else to get them involved in the process.
Lightly grease a large bowl with oil and place the dough in the bowl and cover with a slightly damp clean kitchen towel. Put the bowl somewhere warm to rise in a warm environment for 1-2 hours or until double in size. My kitchen is quite cold, so I usually put it upstairs in a warm room for two hours or close to my heated clothes rail for just over an hour.
While the dough is proving, make your filling by simply mixing the butter, garlic and parsley together. You want this to be soft so it spreads easily onto the dough. I also like to make these with marmite and cheese and you can find this recipe here on this blog!
Line a 9×13 inch baking tray with baking paper and get ready for the fun bit.
When the dough has doubled in size tip the dough onto a floured work surface and use a rolling pin to create a rectangle about 12x18in.
Spread the garlic butter all over the dough and then sprinkle over the cheese.
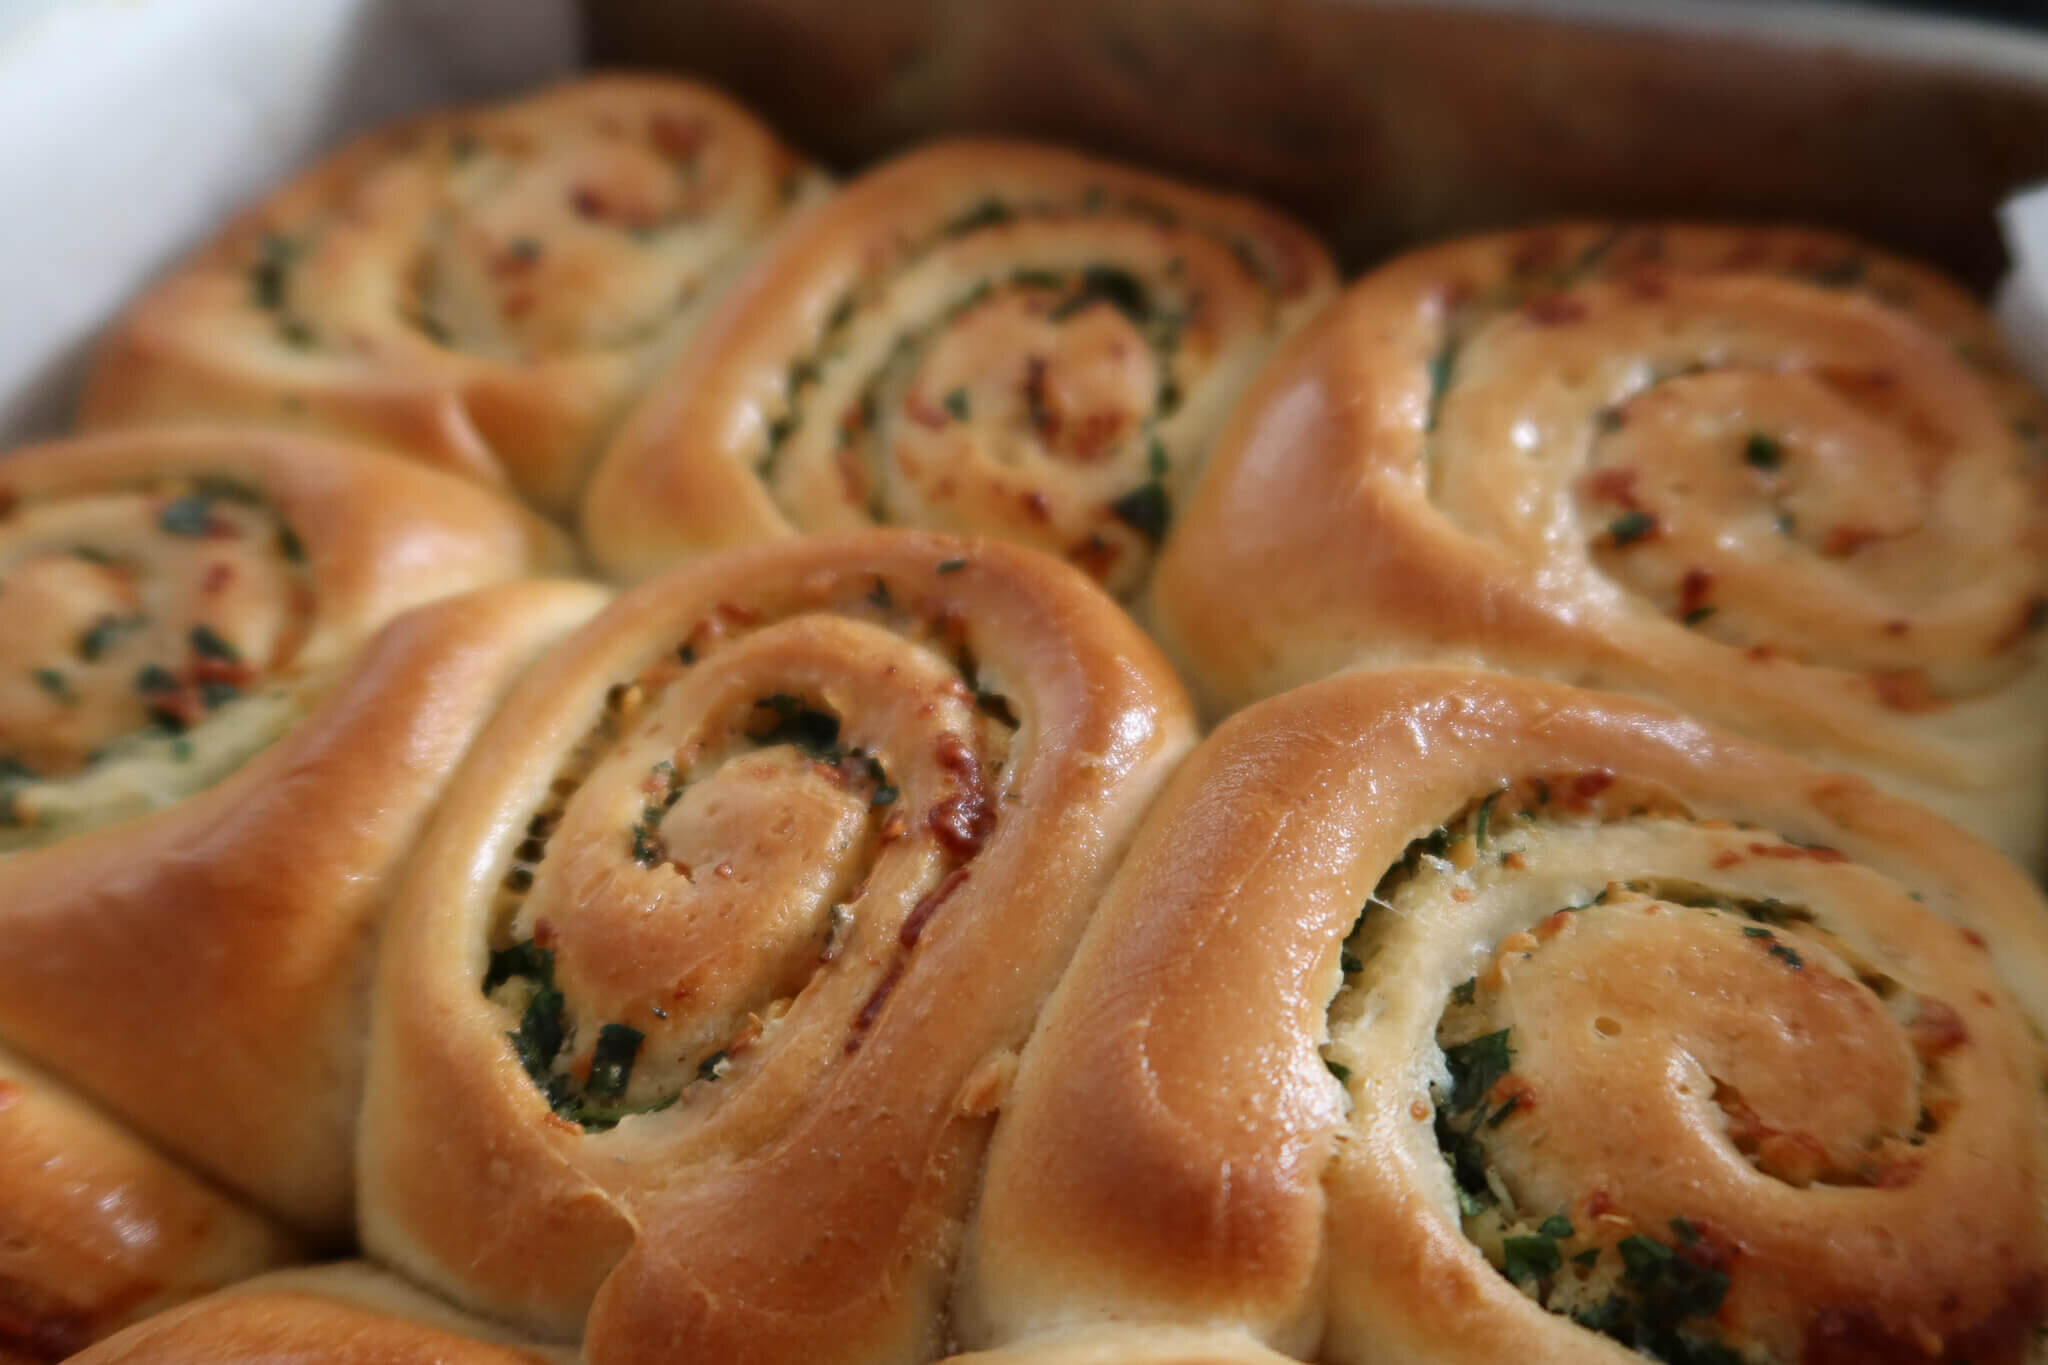
Take the long end and roll up tightly so you have one long sausage of dough. Trim off the ends if they’re looking untidy and then you want to make 12 swirls and I think the best way to do this without measuring is to cut the sausage in half, cut the two pieces you now have in half so you have four pieces. Then cut each those four pieces you’re left with into three. I like to use a piece of thread to do this but gently cutting with a serrated knife gets a good result too. Put these into the lined tray and allow to rise somewhere warm until pillowy and soft (pictured below)– this takes about 45 mins to an hour.
Once they’ve risen preheat your oven to 190°C or fan 170 °C and when it’s come to temperature, bake the swirls for 25 minutes until golden brown on top.
Remove from the oven and brush the warm rolls with softened butter if you like - this will give them a nice shiny top. Allow them to cool for a few minutes before serving.
These rolls can be stored in an airtight container for a few days at room temperature but they’re best eaten the day you make them. You can perk them up again by putting them in the oven for 5 minutes or 10 seconds in the microwave if you’re in a pinch.

A half and half batch of rolls, proved and ready for the oven.